Generating a .p12 file
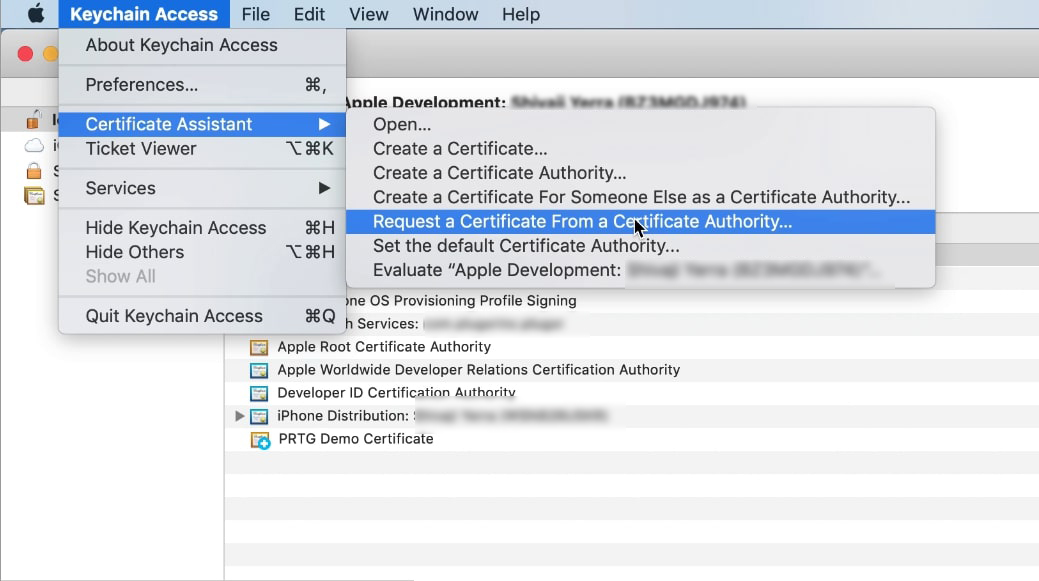
Open Keychain Access. Under the Keychain Access tab on the left top corner, select Certificate Assistant and select the option “request a certificate from a certificate authority” and fill in the following:
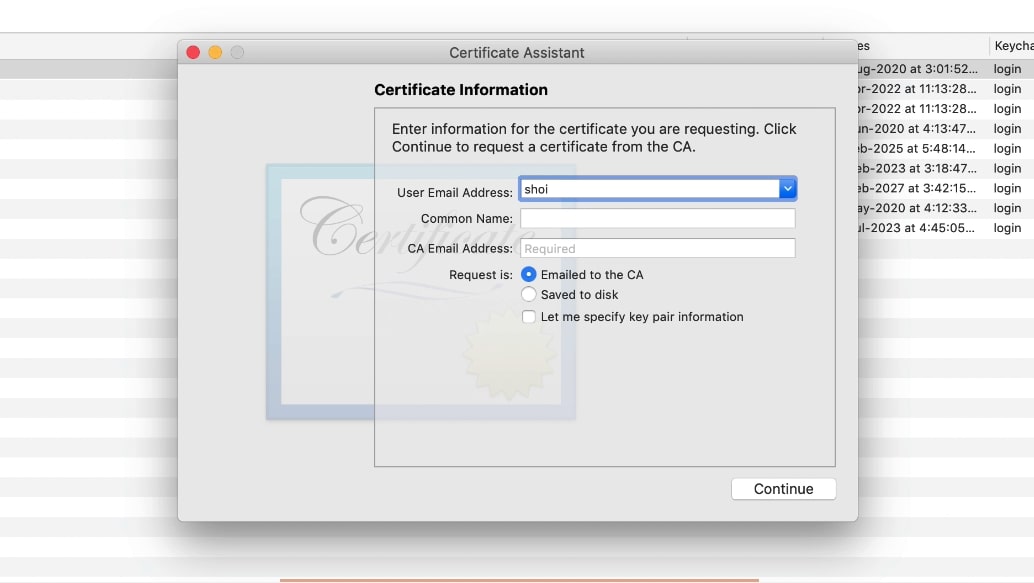
- User email address
- Common Name
- CA email address (not necessary).
Select saved to disk option and continue. This will generate a CSR certificate.
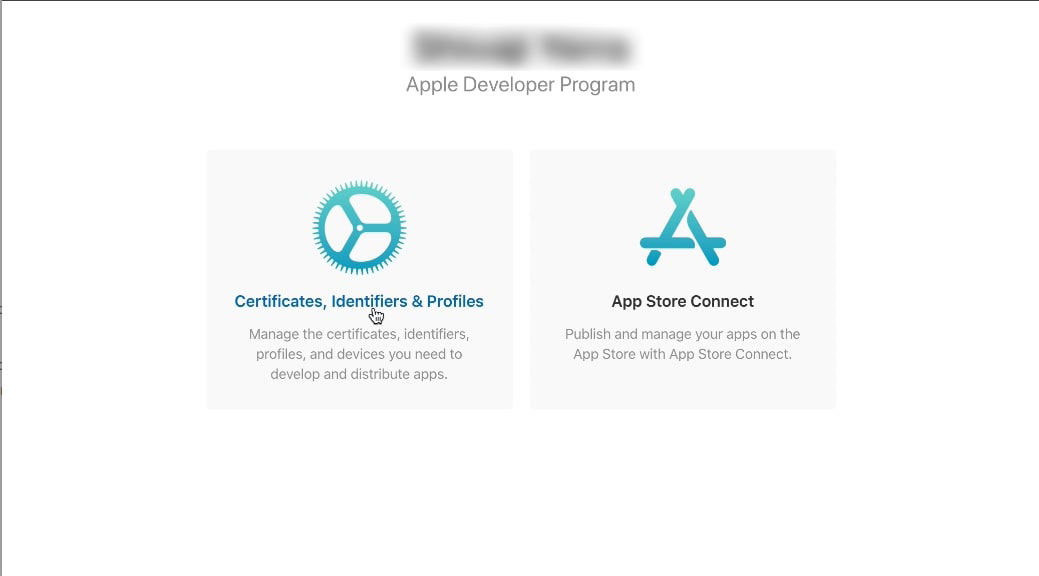
Visit https://developer.apple.com and login to Account with your credentials.
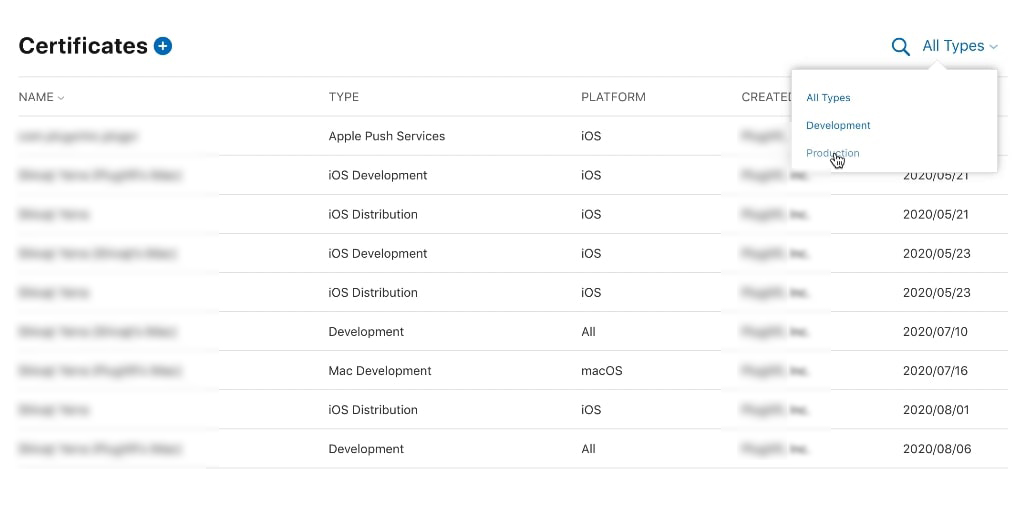
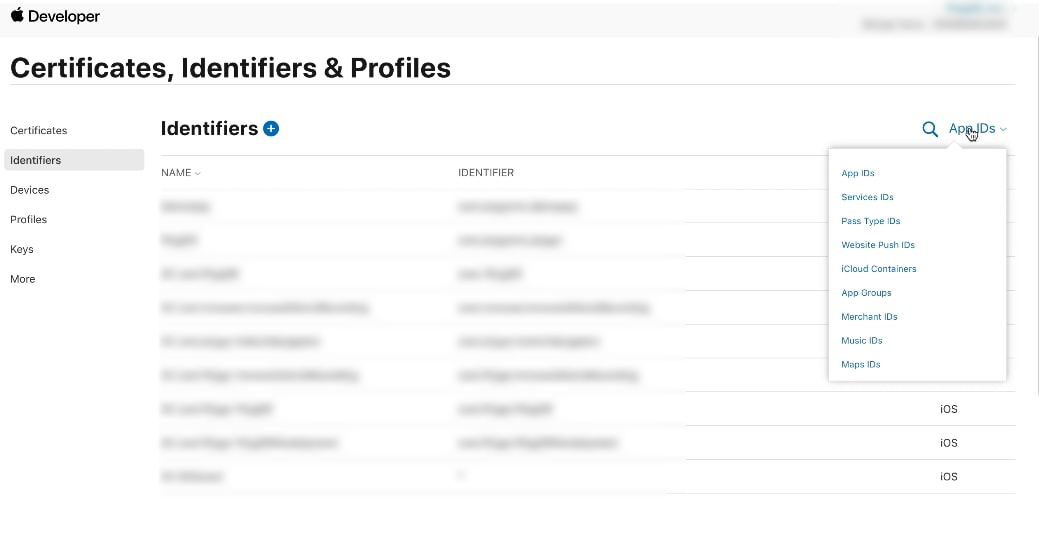
Click on to the tab named as Certificates, Identifiers & Profiles. The screen shown below will appear:
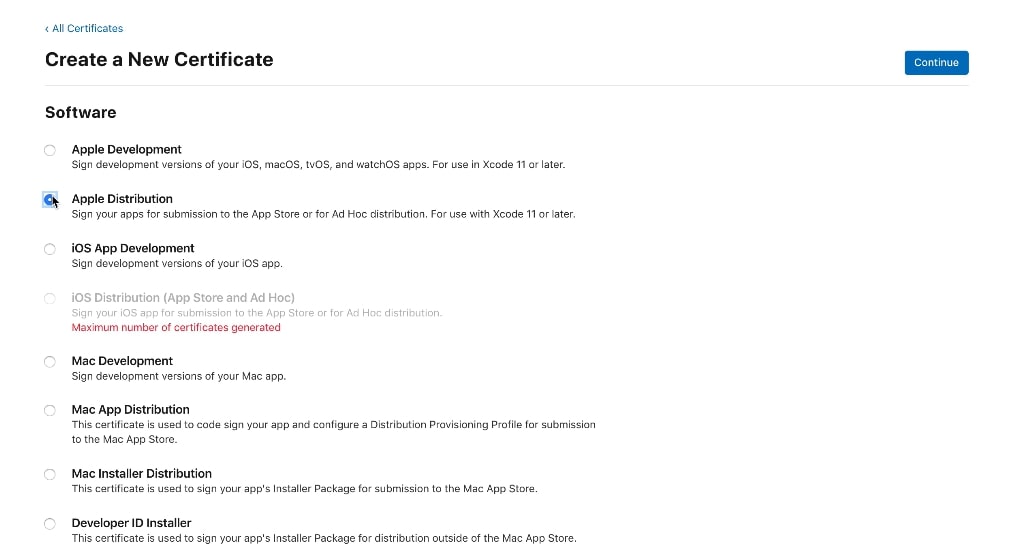
Click on the Production tab under All types on the right corner. Once done, click on the '+' option beside main Certificates heading and select Apple Distribution option and click continue.
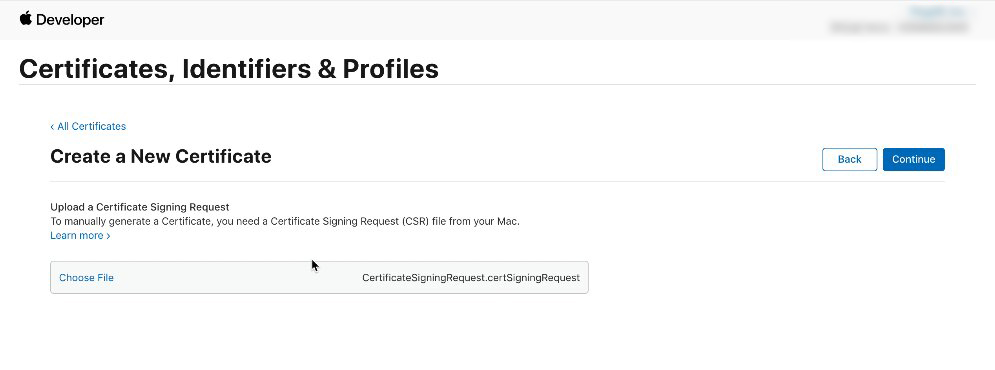
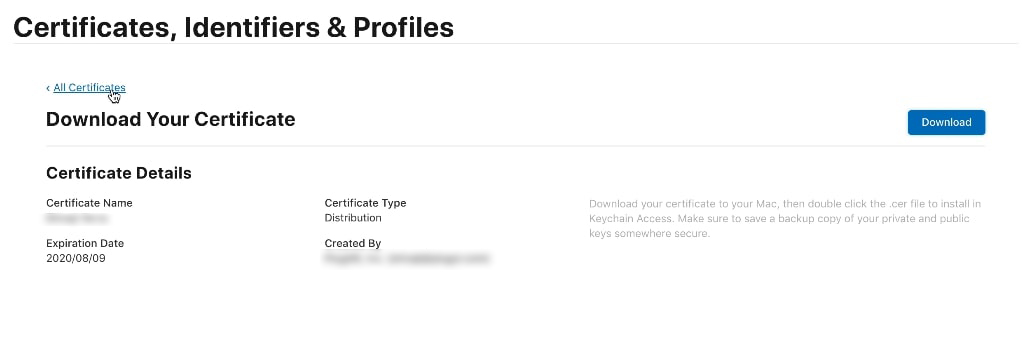
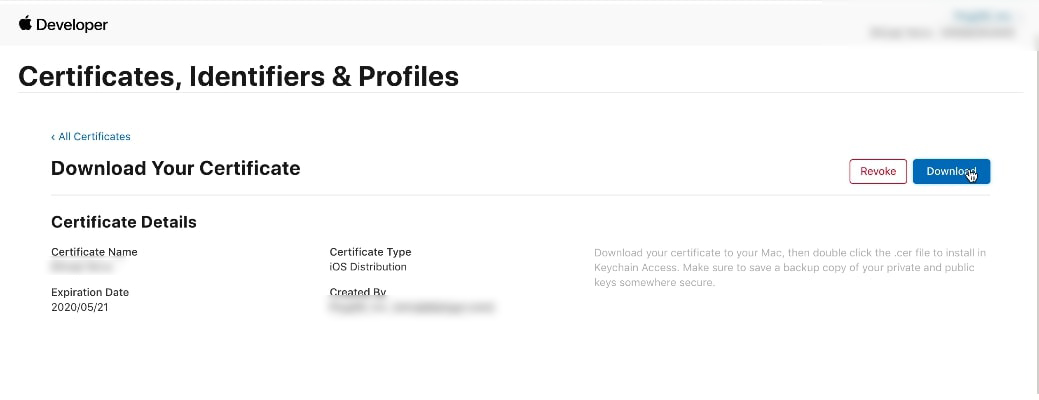
choose file option upload the CER file you downloaded in step 1.a and click on Continue. Then click on Download. This will generate a .cer file.
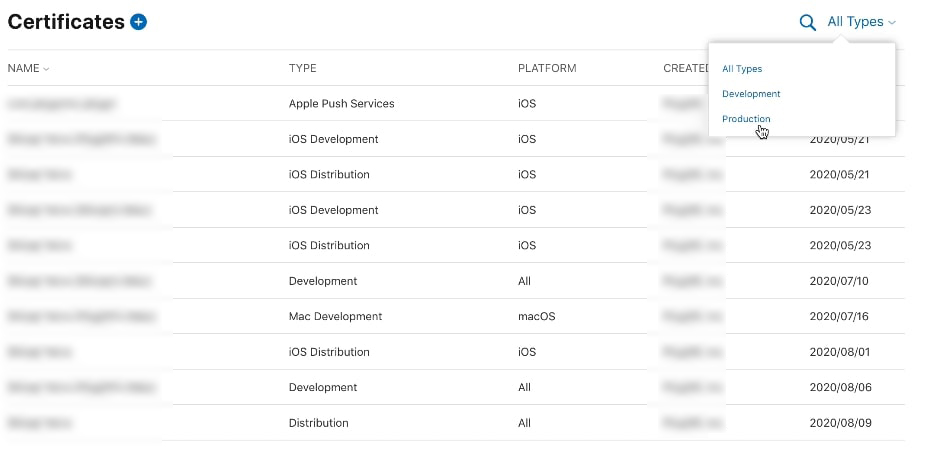
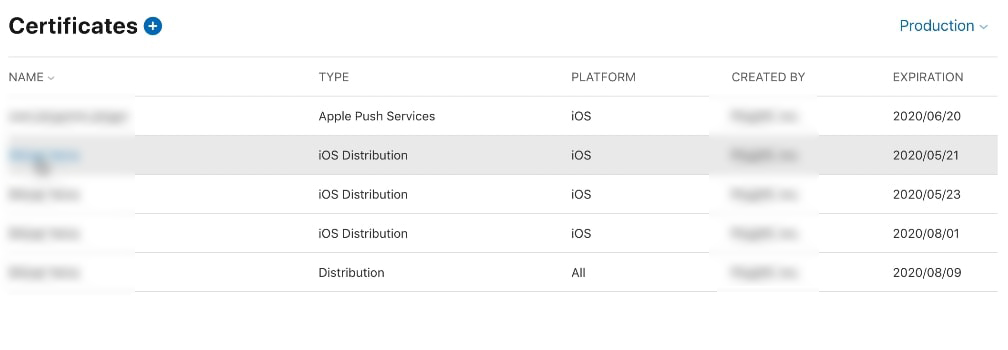
Click on All Certificates. Under All Types, click on to Production. Download all the certificates under the Production which is iOS Distribution (Type).
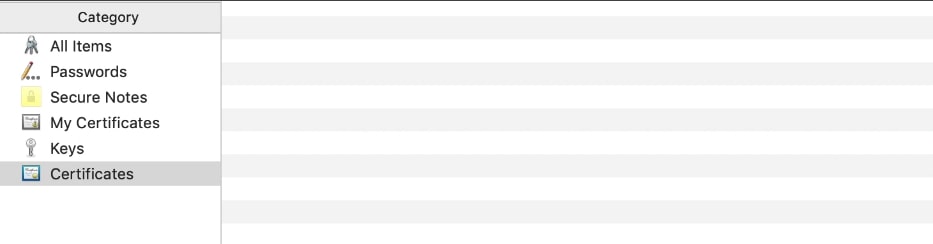
Double click on all the downloaded certificates in the folder you chose for the above step.
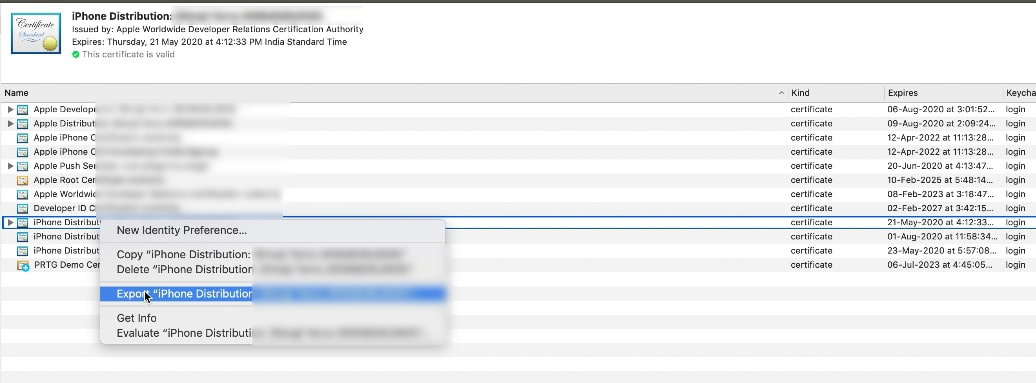
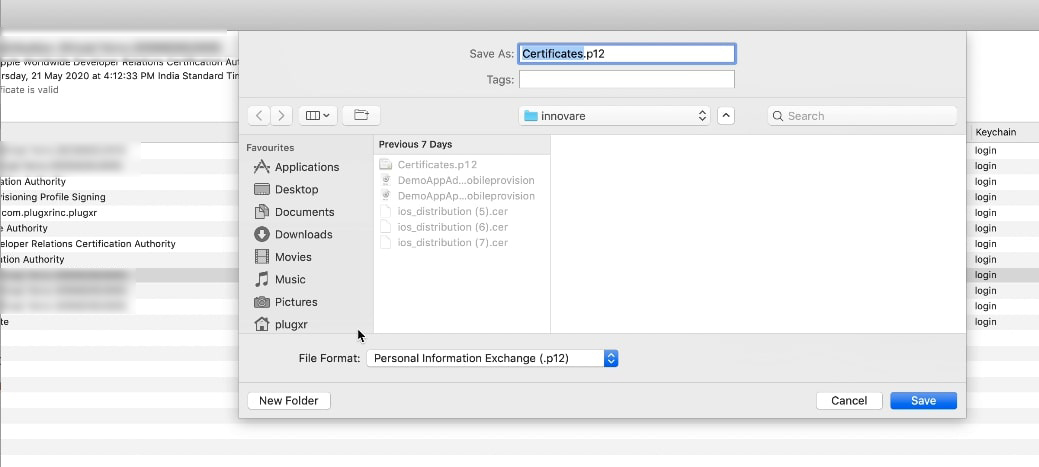
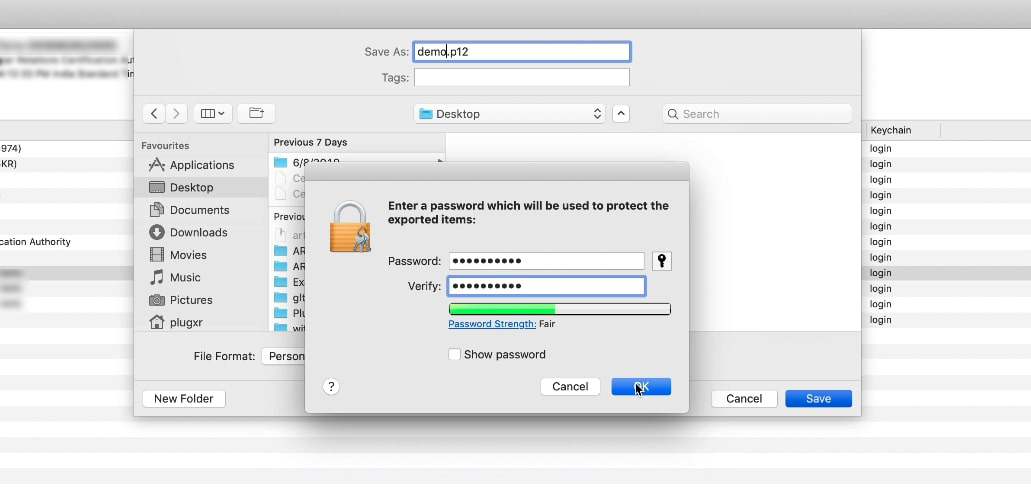
Go back to the Keychain access and click on Certificates tab on the left. Then right click on the distribution certificate with a drop down option and select the Export option. It is important to remember the Expiry Date for later steps. Ensure that the file format is .p12 and click on Save. A pop-up will open where in you can type a password of your choice.
CONGRATULATIONS ! You have a .p12 file ready.
CREATING A PROVISION FILE(.mobileprovision)
To create a distribution provision profile for app store, visit https://developer.apple.com/account/ios/certificate
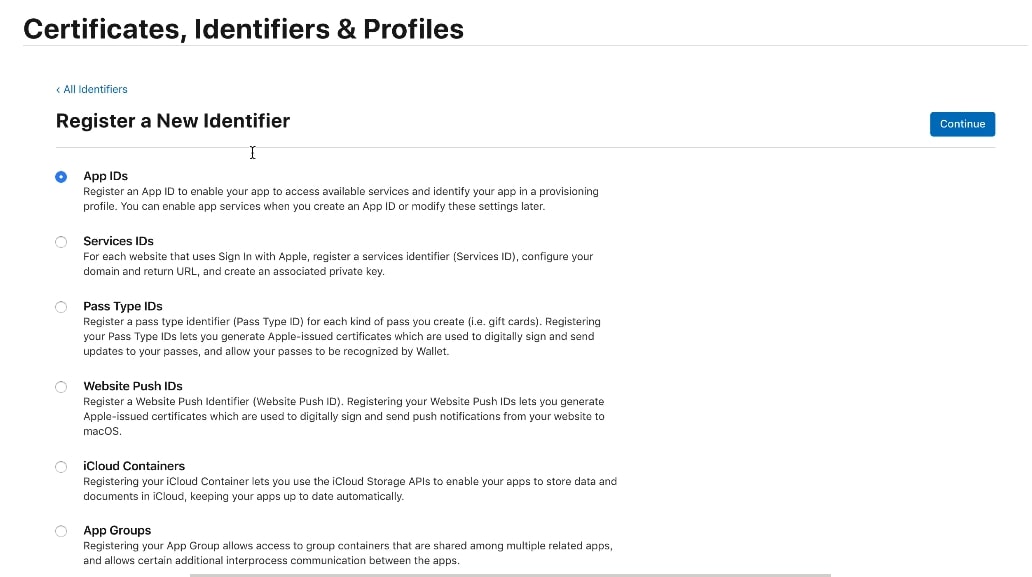
Here on the left side panel you will find Identifiers. Click on App IDs. Now click the ‘+’ button beside the Identifiers Heading. Click on AppIDs to register an App ID and click Continue.
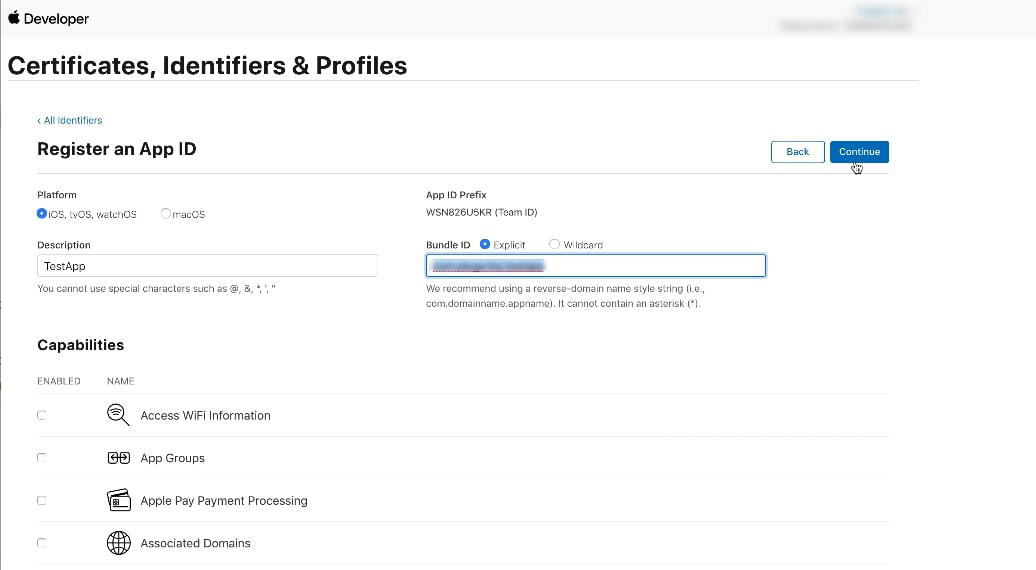
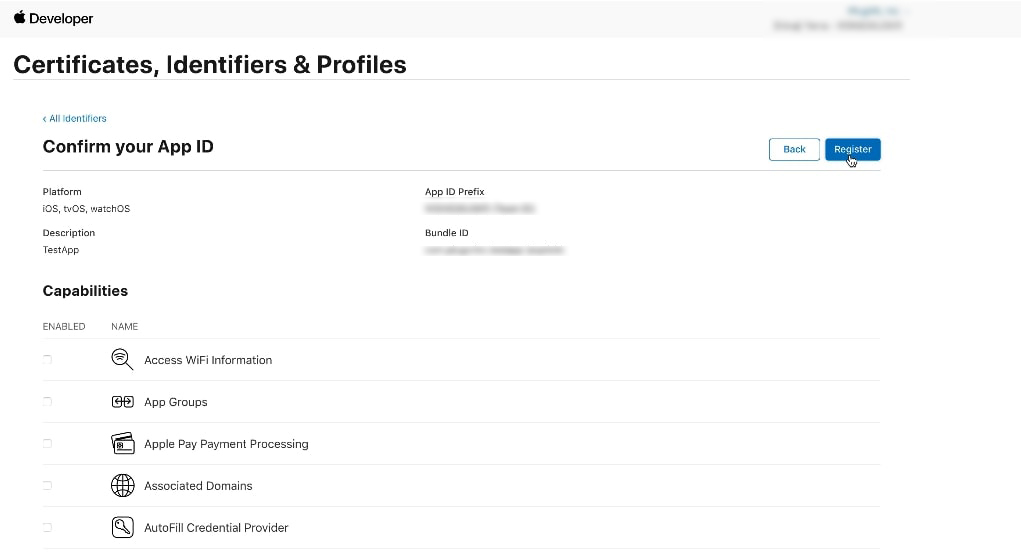
Choose iOS, tvOS, watchOS in Platform. Add your app name in Description and Bundle ID in the following format under Explicit App ID: “com.domainname.appname” ( For example com.plugxrinc.testapp ) Now click on Continue and then Register.
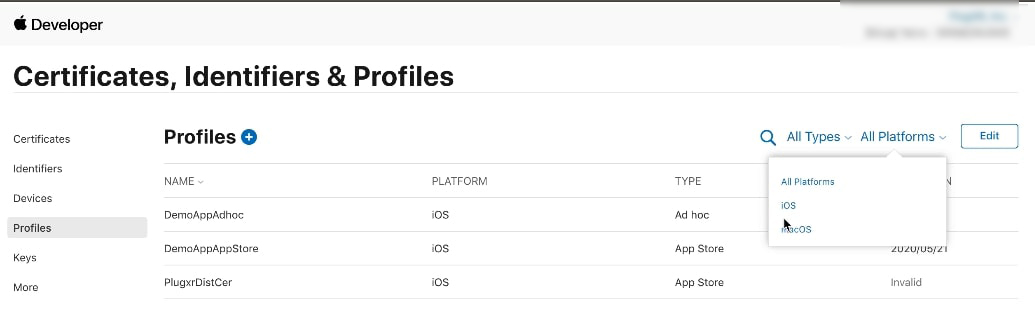
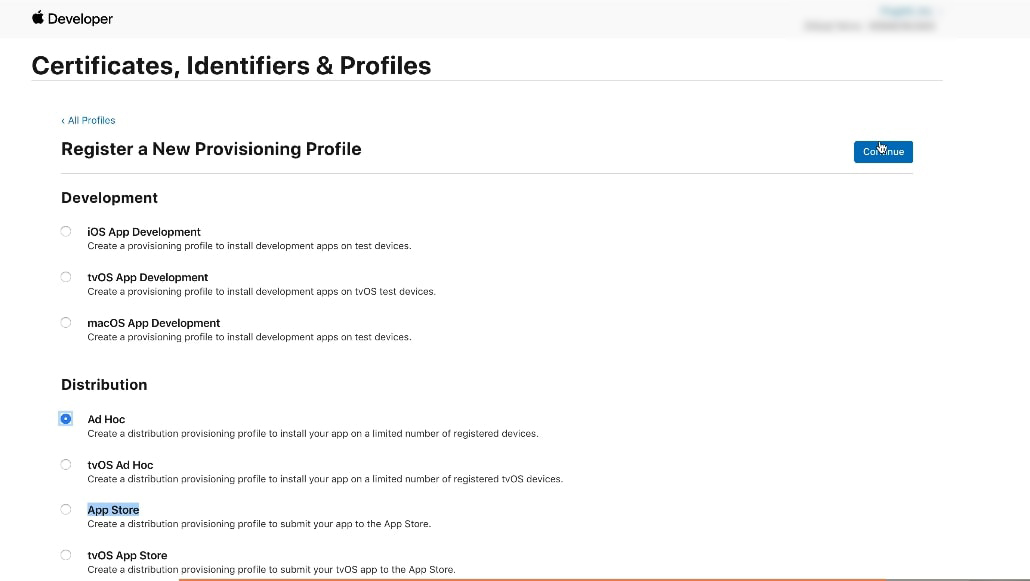
Go back to the home page and click on Profiles on the left panel. Select iOS in the All Platforms option on the right top. Click on the '+' button beside the Profiles Heading.
Under Distribution, you have options to create for Ad Hoc (create a distribution provisioning profile to install your app on a limited number of registered devices)
For Ad Hoc (optional)
- Select Ad Hoc option and click Continue.
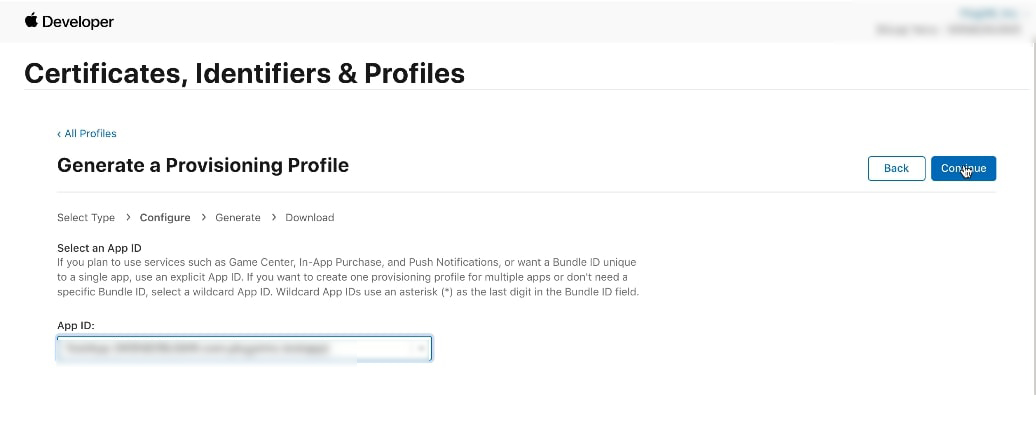
- Select the App Id created in previous steps (com.domainname.appname) and press Continue
-
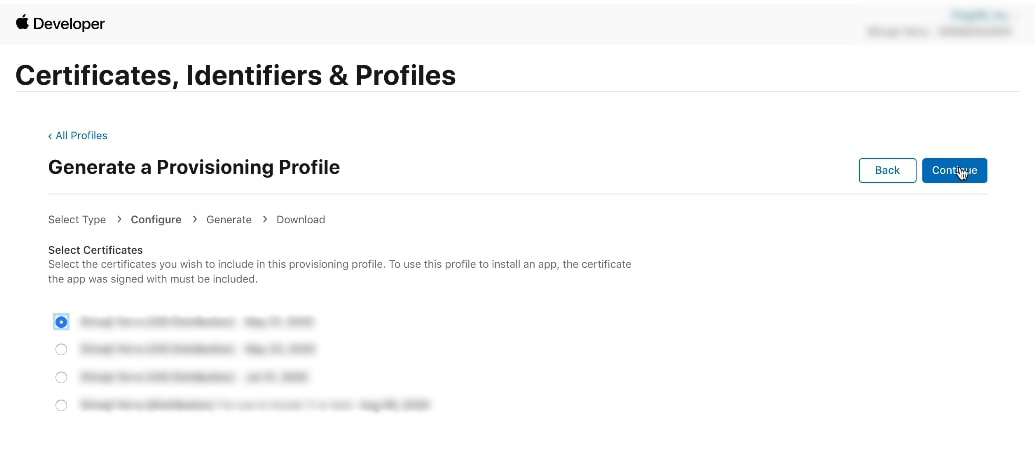
Select the certificate with date (as mentioned in step Keychain access, certicates tab) and press Continue
-
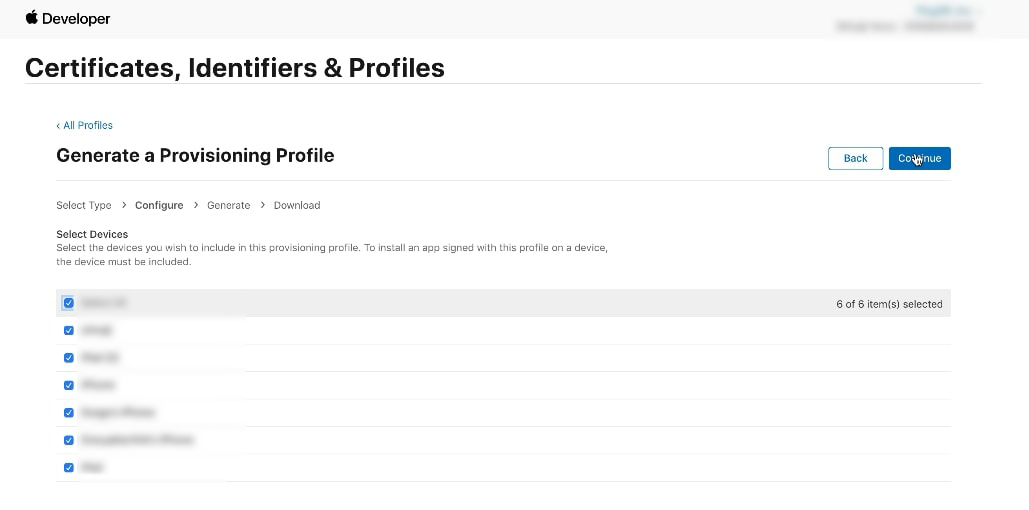
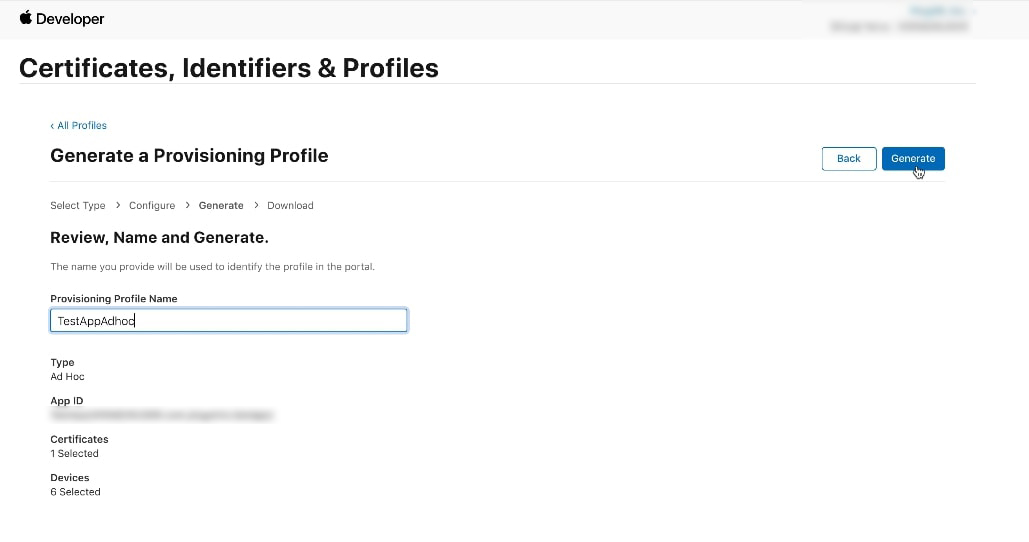
Select all the registered devices and click Continue. (not included in App Store process)
-
Provide a provisioning profile name and press Generate and then Download.
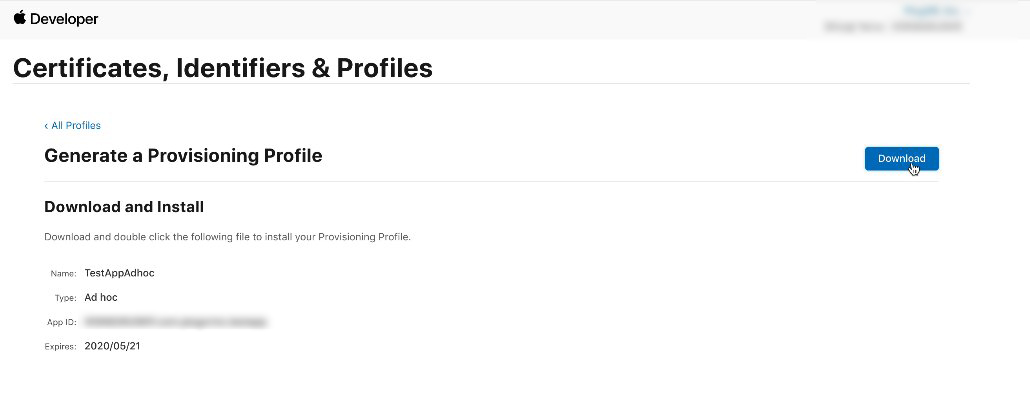
Congratulations! You have the .mobileprovision file for Ad Hoc
GENERATING APP SPECIFIC PASSWORD
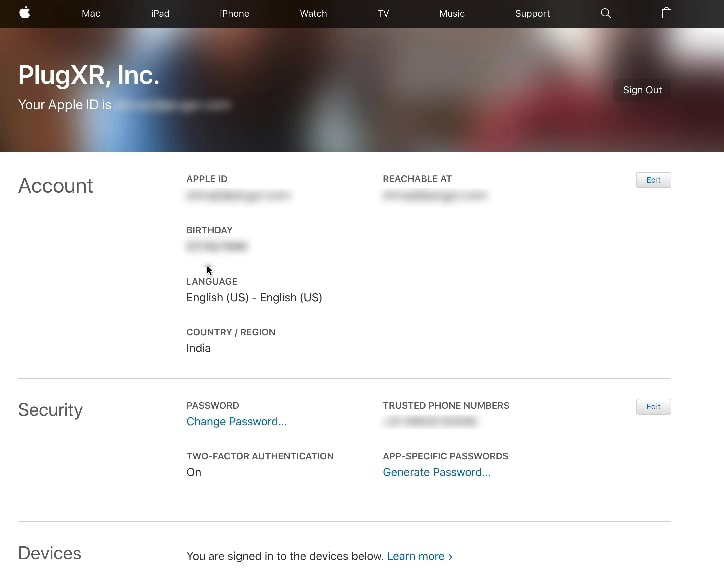
To generate App Specific Password, visit appleid.apple.com and login with your credentials. After logging in, the dashboard will look like it is shown below:
The Security tab has an option of App specific passwords. Under this option, select generate password and enter a password label as mentioned.
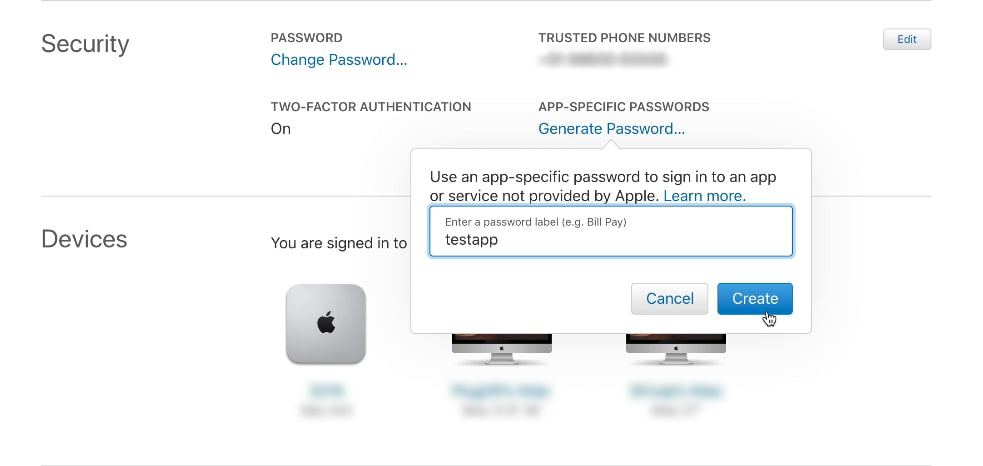
Once you select create, Apple will provide you with an unique App Specific Password with the format as follows: xxxx-xxxx-xxxx-xxxx
Congratulations! You have successfully generated App Specific Password.
MANDATORY STEP FOR iOS APP GENERATION
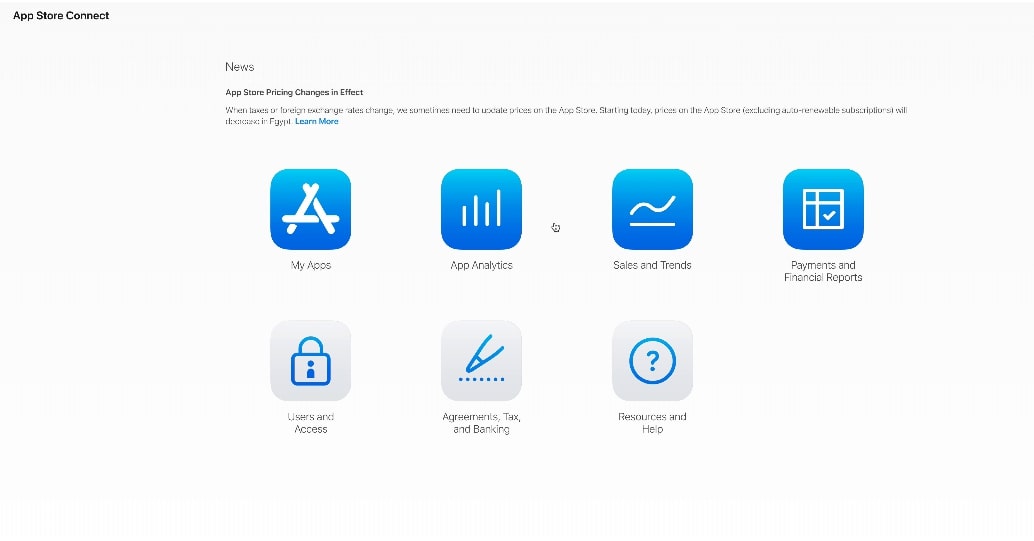
Visit https://appstoreconnect.apple.com and login with your credentials.
Click on My Apps option.
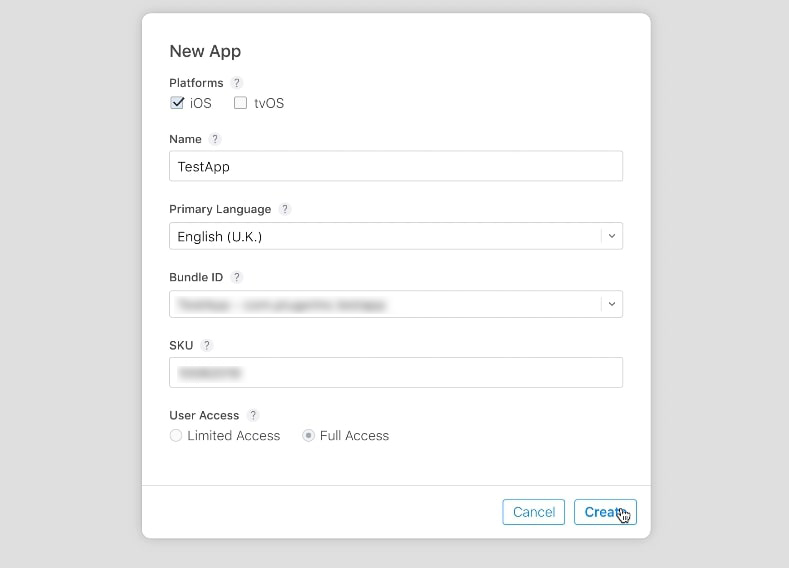
Click on ‘+’ button on the top left corner of the screen and select New App option.
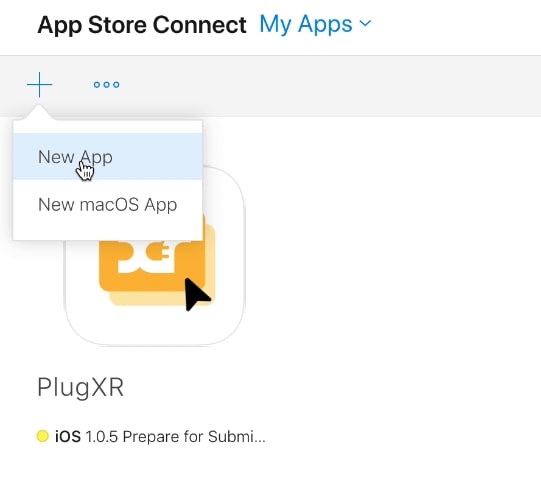
A pop-up will open when you choose the New App option. Choose the iOS option and enter your App Name. Now select the Primary Language and choose your Bundle ID that you created in step 2.d above. Enter a unique ID (Hint:Date. Example; 10082019) in SKU. Now click on Full Access under User Access and click on the Create button.